How to Use the Machine Stitch by Hand to Repair Open Seams.
I was talking to a friend about my last blog Hem it Yourself! and she was pretty excited about learning how to hem her own clothes. She asked me if I could show her how to do anything else with a needle and thread. Sure enough, I can! So you get to learn too. Before my Nanna taught me how to sew I used to get pretty frustrated when my clothes ripped at the seam. I didn’t even want to go to a seamstress I just threw the items away. The thing is, I buy pretty inexpensive clothes to begin with so expecting much wear out of them is just silly. So instead of following this vicious cycle I learned the Machine Stitch, a simple stitch by hand that can be used to repair split seams.
My sweater split on the arm pretty close to the edge. Every time I put it on my thumb would poke into the hole making it split even further.

Not cool.
Like with the pair of pants I fixed, I’ll teach you how use this stitch on a shirt and you’ll be able to use these instructions to repair the seam on just about anything.
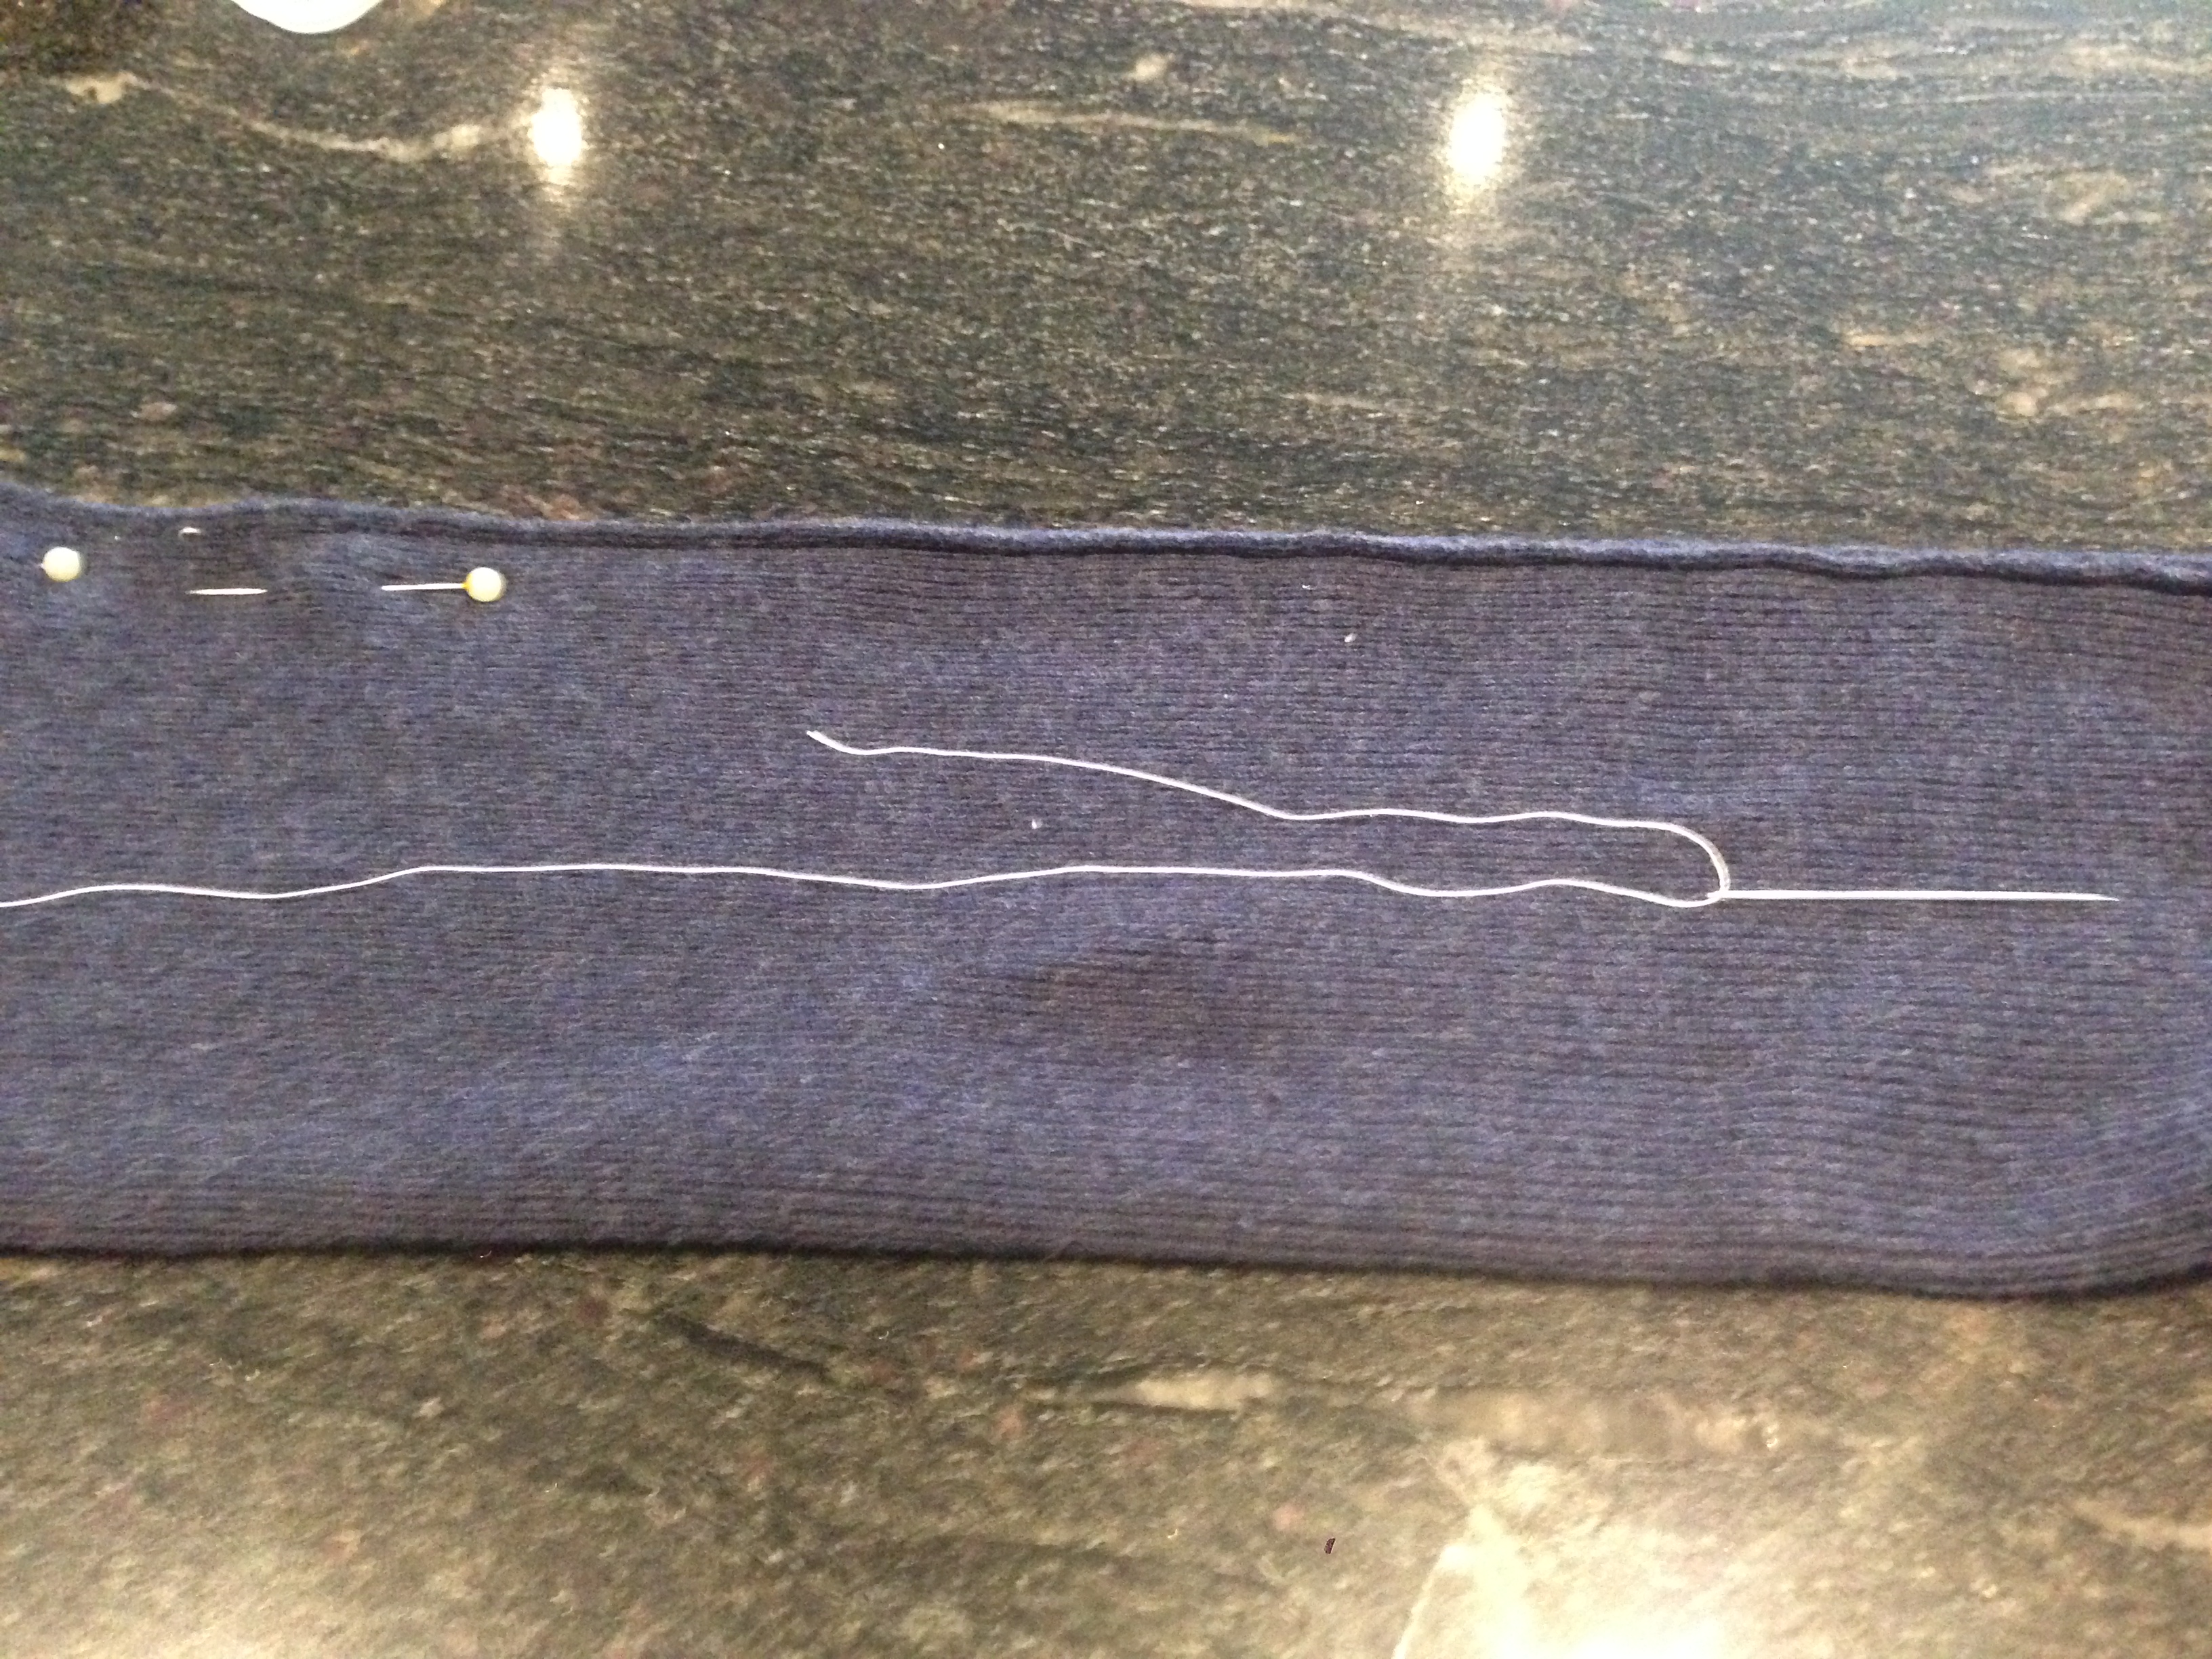
First things first, turn the shirt inside out and pin along the tear.
I have my navy thread to match but to try and make my work as visible as possible for you I’m going to be using white thread for the job.

When you pull the thread through the needle you’re going to want to leave one side significantly shorter than the other so you’re still sewing with a single thread but long enough that the needle won’t slip off. If you don’t know how to knot the thread this is an easy alternative.
The Machine Stitch
Start with a double stitch to secure the thread following the original stitch line. Do this before the tear actually begins to prevent it from ripping again.
Use small stitches to keep the thread from showing on the finished side.
Poke the needle into the shirt , pull the thread through then poke the needle back up through the shirt just beside the original stitch.
The trick to the machine stitch is to back stitch. This means to poke the needle back into the shirt halfway between where the needle initially went into the material and where you have just pulled it through. Did that sounds like gibberish? For a better understanding watch this quick video.
Before doing your DOUBLE STITCH check to make sure you’ve covered the whole tear and then some.
And remember, if you need to start over in the middle of the job you better DOUBLE STITCH before cutting the thread and DOUBLE STITCH when you start using a new piece.
And that’s it!

Thumbs up to no thumb hole!
Got questions? Leave a comment! Also, make sure to check out Hem it Yourself! you might find some of your answers there!
Keep it thrifty,
Michelle

This is so useful – I sew the holes in all of my clothes but didn’t know how to do a proper stitch. Thanks for this!